How to export your trades from Interactive Brokers
This step-by-step guide will show you how to export your trading data from Interactive Brokers (IBKR) and seamlessly import it into your OnePortfolio account. The process is straightforward and only takes a few minutes
1. Sign In
Sign in to the Client Portal.
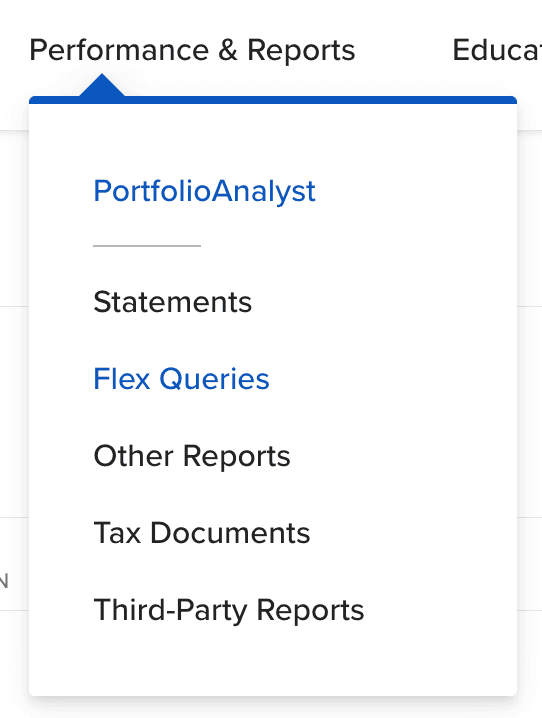
Click the "Performance & Reports" dropdown menu and then click on "Flex Queries".

In the "Activity Flex Query" section, click on the "+" (plus) sign to create a new query.

Fill in a name of the query. It can be anything, e.g. "OnePortfolio Export."
2. Export Configuration
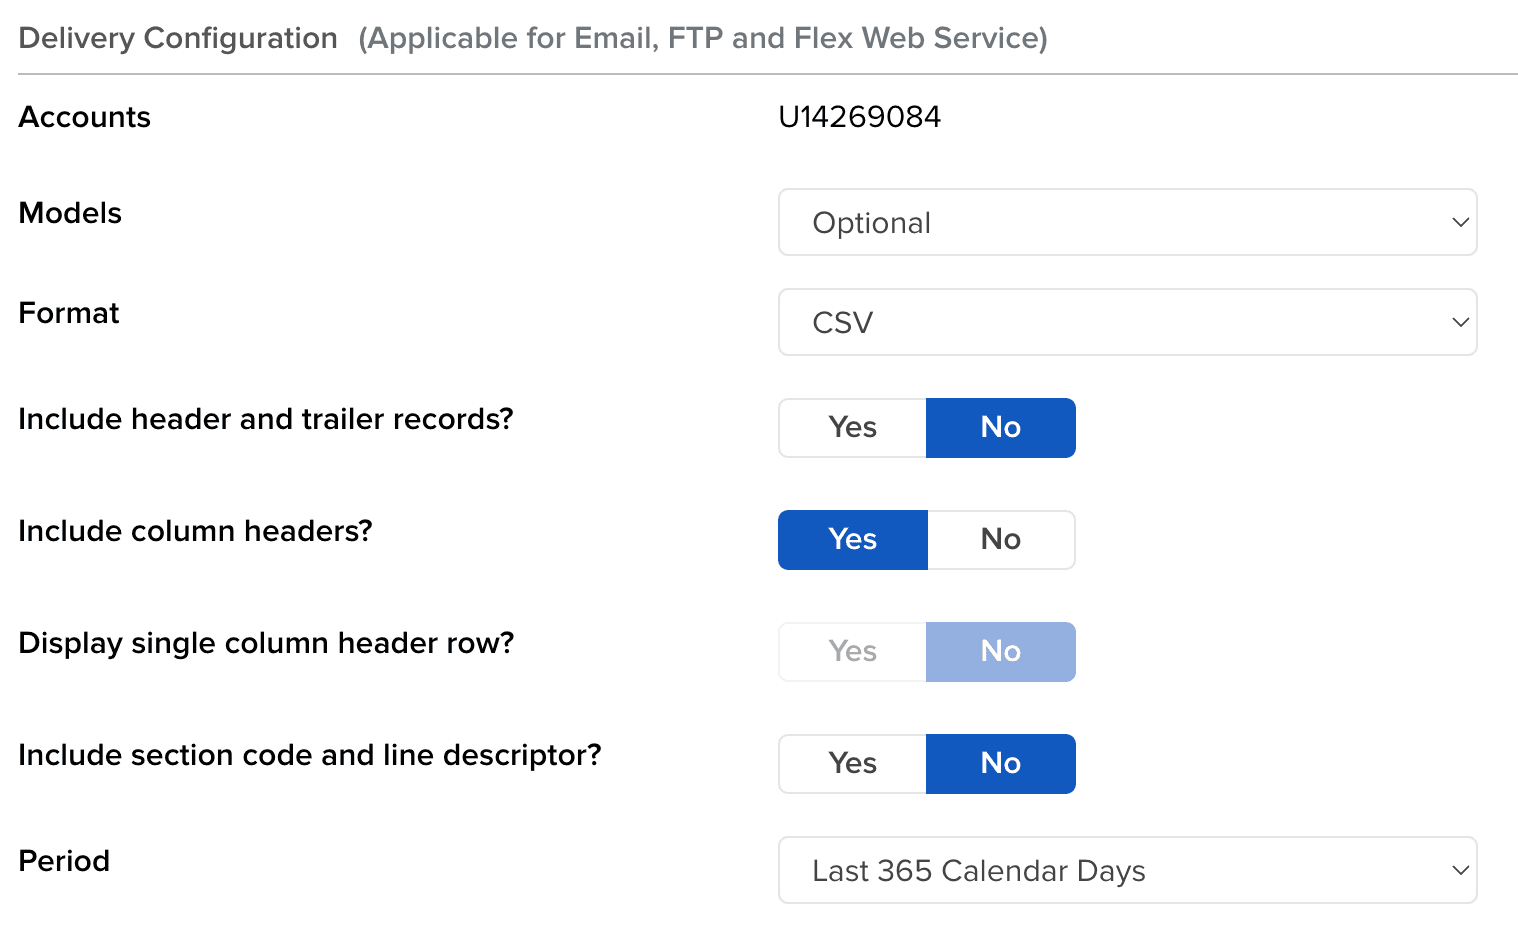
If you have multiple accounts or one of your accounts have been migrated in the past, make sure to select all your accounts.
Select your desired period, e.g. last 365 calendar days or custom date range, select CSV as format and click on "Run" to export the trades.

It allows you to export only one year at a time so if your portfolio is older, you will have to run the export for each year (with custom date range) separately.
To convert the exported file to a CSV/Excel file, import it to OnePortfolio.
In the portfolio overview page, scroll down to the trades table and click on the export button to export the trades.
3. Configure Sections
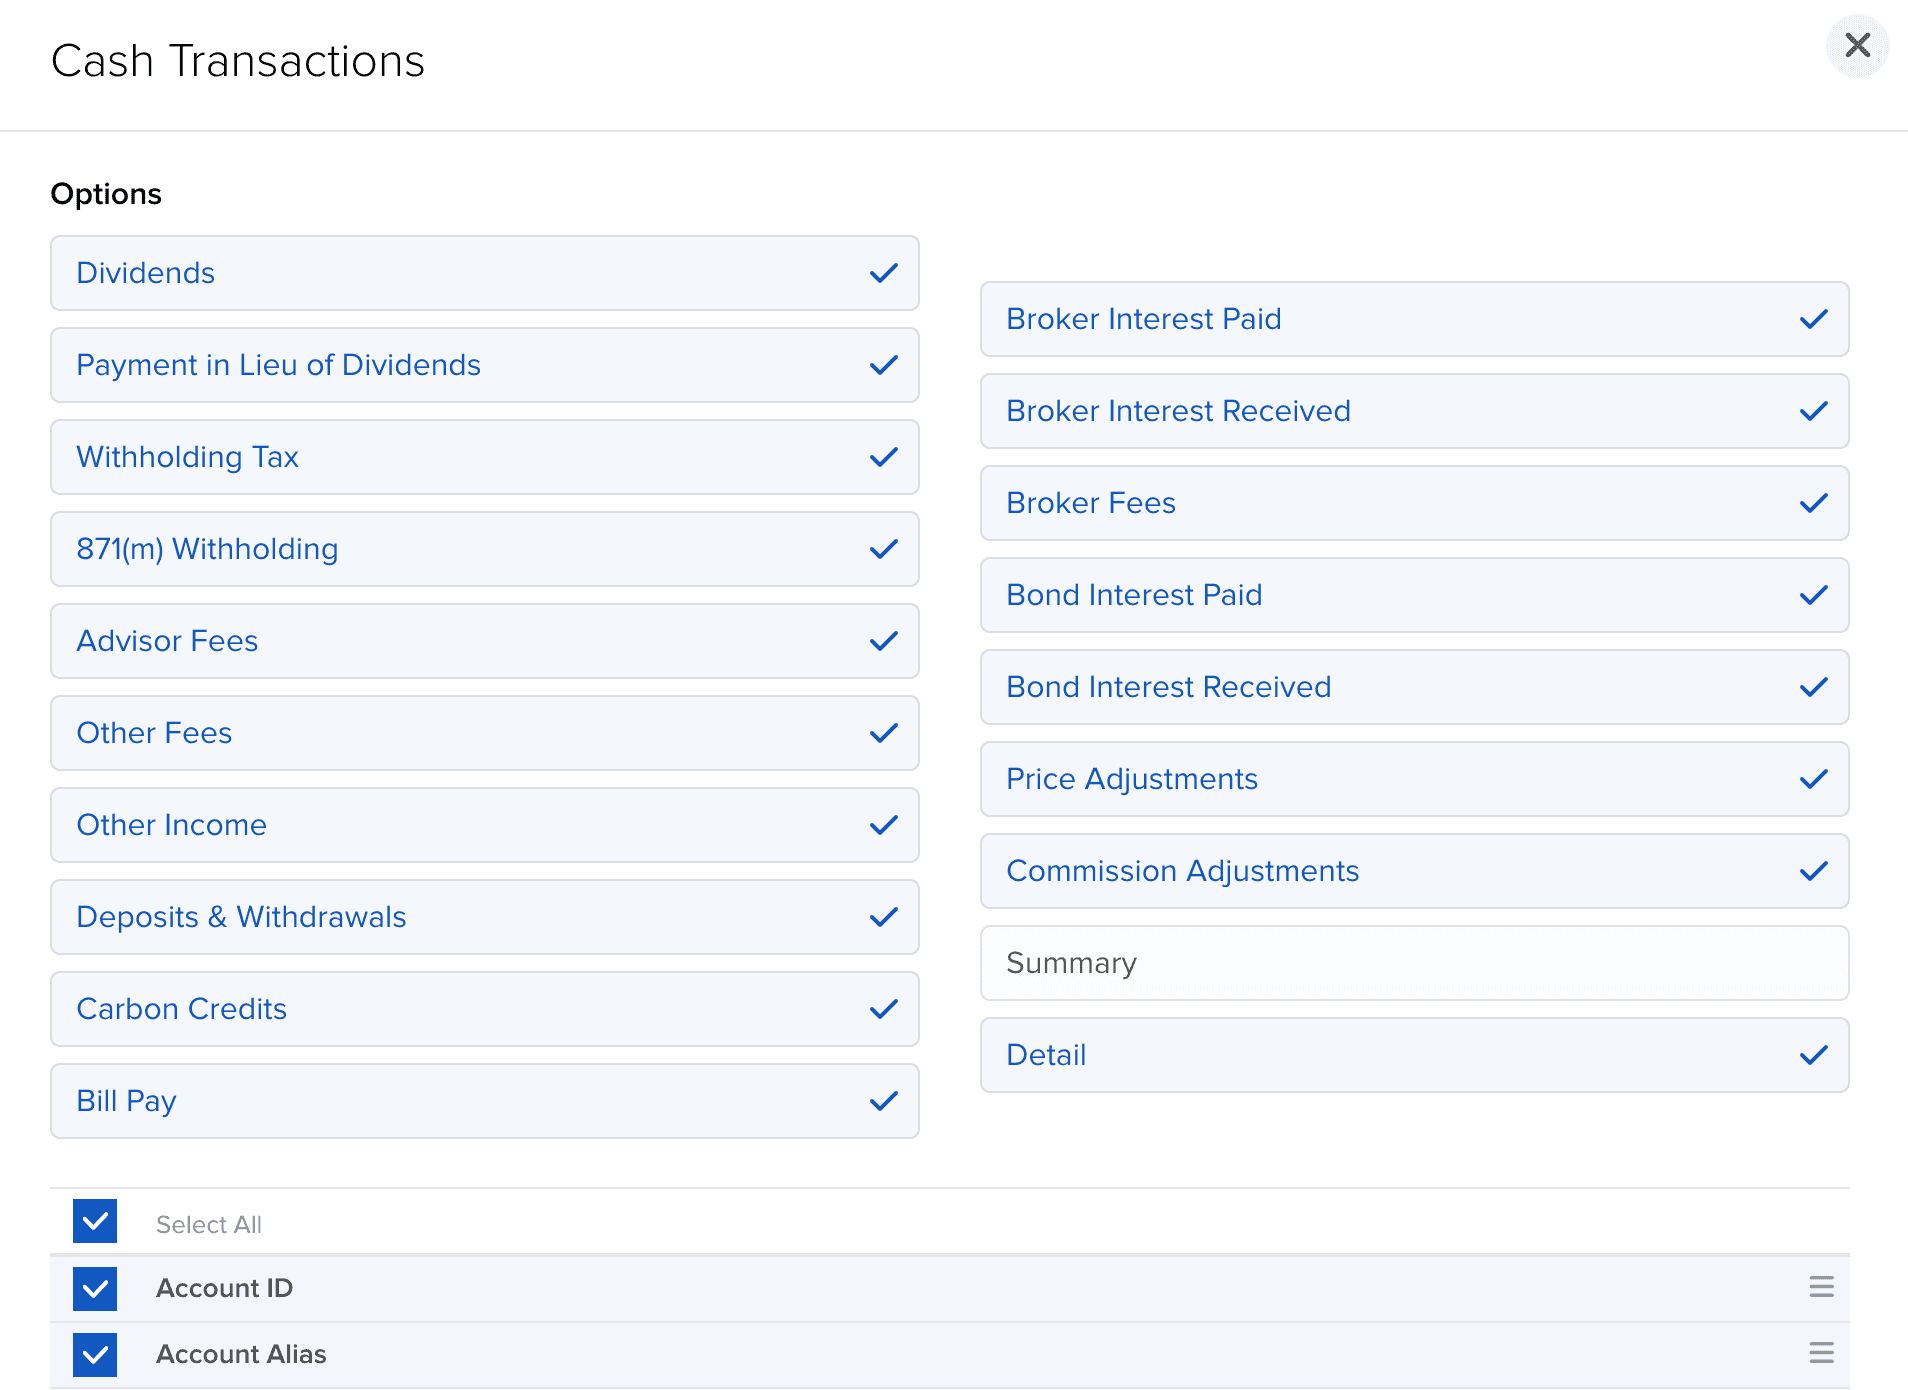
In the "Sections" section, click on "Cash Transactions".
Check "Select All" at the top, scroll down and save the settings by clicking on "Save" button at the bottom of the modal.

Repeat the previous two steps for all the following sections:
• Cash Transactions
• Incoming/Outgoing Trade Transfers
• Option Exercises
• Assignments and Expirations
• Trades
• Transaction Fees
• Transfers
4. General Configuration
In the "General Configuration" section, make sure that the date format is set to "yyyyMMdd", time format to "HHmmss", date/time separator to ";" (semicolon).

Click on the "Continue" button at the bottom of the page, then the "Create" button on the next page and finally "OK".
5. Export the file
Look for the arrow icon next to the new query and click it to begin the export.

6. Import in OnePortfolio
Log into your OnePortfolio account, navigate to the transactions section, click on 'Import Transactions', and simply drag and drop your exported file